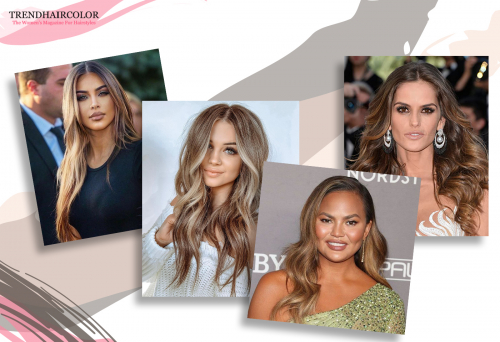
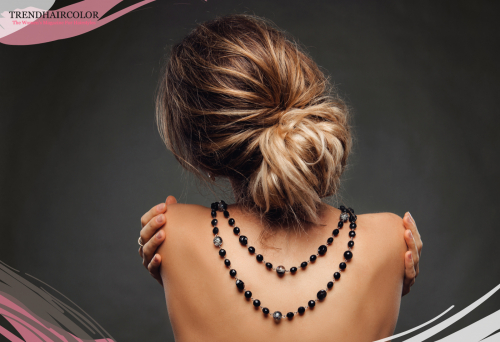
Whether you are a super-model, A-list celebrity, or a first-time salon visitor, you all share the same vision of having effortlessly gorgeous, trendy, and healthy-looking hair. So what can help you to achieve your coveted hair goals more than the most requested salon service? Yes, you are right; we are talking about the balayage coloring technique. Because balayage is growing in popularity and day by day, you see new gorgeous balayage ideas taking Instagram by storm.
Doing balayage requires education and a lot of practice. Though TBH, even the pro colorists can't boast of their complete balayage knowledge, some tips and tricks help them stay ahead of the hair painting game.
If your hair is light, pair it with darker tones of the same color family and vice versa. For instance, if your hair is caramel blond, use chocolate brown hues, and use blond shades for dark brown hair color (know that sometimes, you will need to bleach your dark hair to get the desired results.) The colorists should honestly explain to their balayage-asking clients what outcome to expect depending on their base color.
As you have chosen the right shades for your balayage, the next important step is sectioning hair for precise placement of the lightener. Besides, it will help you save a lot of time and give you more room to go beyond your artistry.
The choice of the brush may have a great impact on your balayage painting. That's why, while choosing a brush the colorists should take into consideration several factors that include, but are not limited to, the type and length of hair, the level of saturation, and the result you want to achieve.
Natural bristle brushes are best for fine to medium hair. The bristles' mechanics allow for a gentler saturation, making it excellent for transition areas; besides, it will be pretty easy to soften the flow of the product with this brush.
Melt brush is very light and has a long pointed handle suitable for sectioning hair, and all of the bristles are contained in a single reservoir. The bristles are long and soft, allowing a quick and gentle application.
The foam brush is usually angled and made of foam. This makes it suitable for doing balayage for fine-haired individuals. In addition, because foam holds onto the product more firmly than bristles, the foam brush will provide the least level of saturation compared to the bristle brush.
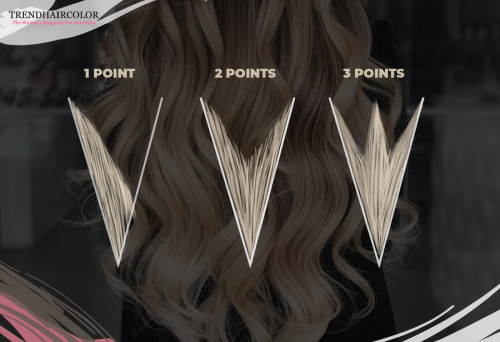
To create a delicate grow out, you can use three different V Balayage techniques:
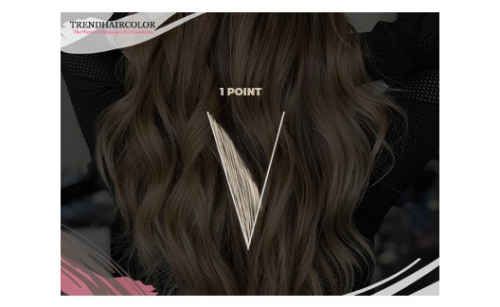
This one-point V balayage is more of a face-framing piece. Pull out a strand and do your one-point V painting: softly apply the lightener starting from the roots but make sure not to reach the scalp and move towards the end to create the point. Remember that by moving the lightener upward, you will have slight color diffusion. One more thing, if you want to get a smooth color transition, horizontal sections, as, by diagonal sections, you will make sharp lines. Diagonal areas are more convenient for making face-framing pops.
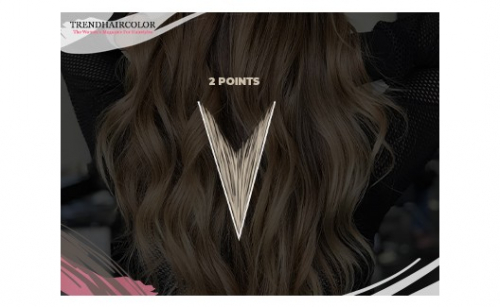
The two-point V layer is painted on the sides and slightly in the middle. Again you pull out a V strand and slightly apply the lightener starting from the midlength and feathering upward to create two points, then slightly paint the end of the V. You are not supposed to paint your V strands intensely, do soft surface strokes on your hair.
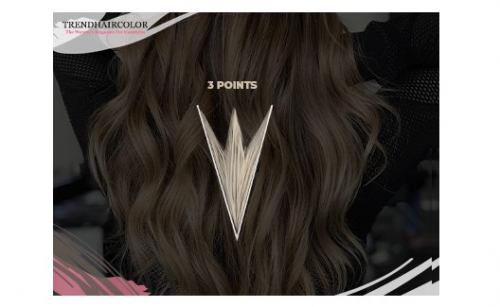
The three-point or W painting method is two painted sides, one up to the middle and entirely V-painted. Next, slightly paint the two edges and the middle of the V strand. In the mohawk area, it will be better to do an entire V strand.
As the points are created, then you can apply more paint at the mid-lengths downward the ends. The V balayage technique helps you to feel confident with balayage making a fabulous diffusion of color.
Tip: Before applying the lightener, learn about the product, as the clay-containing lighteners can create inconsistencies.
The colorists providing balayage coloring services have to learn more and more not to miss out on a single detail regarding this coloring technique. That's why we do not recommend trying balayage on yourself or anybody else at home unless you are a specialist. Let's trust our balayage hair makeover to an experienced colorist and be happy with the outcome.
For more balayage inspiration, see Balayage Ideas to Rock in 2021
Doing balayage requires education and a lot of practice. Though TBH, even the pro colorists can't boast of their complete balayage knowledge, some tips and tricks help them stay ahead of the hair painting game.
Choose the Right Shades
If your hair is light, pair it with darker tones of the same color family and vice versa. For instance, if your hair is caramel blond, use chocolate brown hues, and use blond shades for dark brown hair color (know that sometimes, you will need to bleach your dark hair to get the desired results.) The colorists should honestly explain to their balayage-asking clients what outcome to expect depending on their base color.
Section Your Hair
As you have chosen the right shades for your balayage, the next important step is sectioning hair for precise placement of the lightener. Besides, it will help you save a lot of time and give you more room to go beyond your artistry.
Choose the Right Brush
The choice of the brush may have a great impact on your balayage painting. That's why, while choosing a brush the colorists should take into consideration several factors that include, but are not limited to, the type and length of hair, the level of saturation, and the result you want to achieve.
Natural bristle brushes are best for fine to medium hair. The bristles' mechanics allow for a gentler saturation, making it excellent for transition areas; besides, it will be pretty easy to soften the flow of the product with this brush.
Melt brush is very light and has a long pointed handle suitable for sectioning hair, and all of the bristles are contained in a single reservoir. The bristles are long and soft, allowing a quick and gentle application.
The foam brush is usually angled and made of foam. This makes it suitable for doing balayage for fine-haired individuals. In addition, because foam holds onto the product more firmly than bristles, the foam brush will provide the least level of saturation compared to the bristle brush.
Apply V Balayage Techniques
To create a delicate grow out, you can use three different V Balayage techniques:

This one-point V balayage is more of a face-framing piece. Pull out a strand and do your one-point V painting: softly apply the lightener starting from the roots but make sure not to reach the scalp and move towards the end to create the point. Remember that by moving the lightener upward, you will have slight color diffusion. One more thing, if you want to get a smooth color transition, horizontal sections, as, by diagonal sections, you will make sharp lines. Diagonal areas are more convenient for making face-framing pops.

The two-point V layer is painted on the sides and slightly in the middle. Again you pull out a V strand and slightly apply the lightener starting from the midlength and feathering upward to create two points, then slightly paint the end of the V. You are not supposed to paint your V strands intensely, do soft surface strokes on your hair.

The three-point or W painting method is two painted sides, one up to the middle and entirely V-painted. Next, slightly paint the two edges and the middle of the V strand. In the mohawk area, it will be better to do an entire V strand.
As the points are created, then you can apply more paint at the mid-lengths downward the ends. The V balayage technique helps you to feel confident with balayage making a fabulous diffusion of color.
Tip: Before applying the lightener, learn about the product, as the clay-containing lighteners can create inconsistencies.
The colorists providing balayage coloring services have to learn more and more not to miss out on a single detail regarding this coloring technique. That's why we do not recommend trying balayage on yourself or anybody else at home unless you are a specialist. Let's trust our balayage hair makeover to an experienced colorist and be happy with the outcome.
For more balayage inspiration, see Balayage Ideas to Rock in 2021

